Whatsapp//Wechat: 86-13427954596
Facebook:
www.facebook.com/li.karen.184881
Email:
karen@kyd-esd.com
sales@kyd-esd.com
sales001@kyd-esd.com
.jpg)

.jpg)

.jpg)
.jpg)
.jpg)

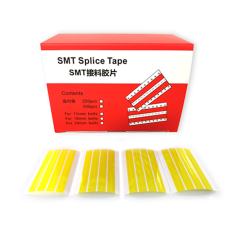
The product adopts the edge positioning design, no auxiliary tools are needed for receiving the materials.The receiving process can be easily completed by means of the positioning edge.The SMT special feeding belt makes the receiving material more reasonable and quicker; the arrow-side positioning type receiving belt (for Panasonic) changes the history that the Panasonic machine can not be renewed, and is applied to the models of Universal, JUKI, Sanyo and Hitachi. Create more benefits for electronics manufacturing companies.


Whats App


.jpg)